

Go Back

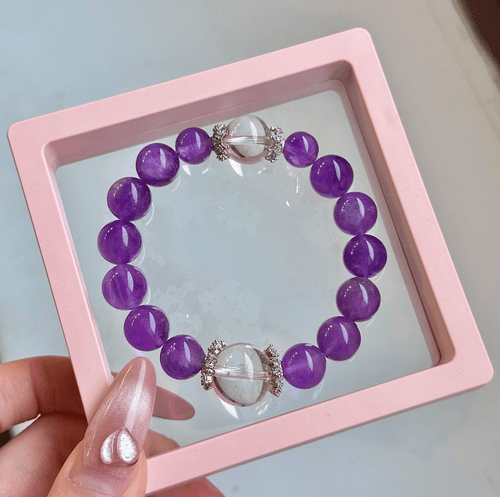

Amethyst and Clear Crystal Beaded Bracelet
$189.00
Amethyst Radiance 「紫金霞光」
This bracelet combines Amethyst and Clear Crystal, radiating wisdom and tranquility like the stars in the night sky.
Amethyst brings focus and success, while Clear Crystal offers clarity, harmony, and balance. T
his bracelet, like the radiance of Amethyst, illuminates the depths of the soul, helping the wearer achieve wisdom, focus, success, and strength.
Material:
Amethyst
Clear Crystal
Bead Size 10-15mm
Wrist Size:14-15cm
♡ Thank you for supporting our small business!
Wrist Size Adjustment: If the bracelet size needs to be adjusted, please leave a note at checkout.
Quantity
Add to cart
